Home Assistant (Integration)
The WattWächter integration for Home Assistant enables seamless integration of your WattWächter Gas into your smart home. All sensor data is automatically detected and provided as entities in Home Assistant.
Now an official part of Home Assistant
As of Home Assistant 2026.7, the WattWächter integration is a built-in part of Home Assistant Core — it is already included and is discovered automatically on your network. It supports the WattWächter Gas from Home Assistant 2026.11.
Two ways to Home Assistant
There are two ways to integrate the WattWächter into Home Assistant:
- Native integration (this page) — local meter readings as sensor entities, no cloud. Included in Home Assistant Core as of Home Assistant 2026.7.
- MQTT with auto-discovery — see Home Assistant (MQTT). Requires an MQTT broker such as Mosquitto, but lets you choose the update interval freely.
Use only one of the two at a time, otherwise duplicate entities can appear.
Prerequisites
- WattWächter Gas set up and connected to Wi-Fi, with firmware 1.3.0 or newer
- Home Assistant 2026.11 or newer (the integration supports the WattWächter Gas from this release)
- The WattWächter Gas and Home Assistant must be on the same network.
Setting Up the Integration
Automatic Discovery (Zeroconf)
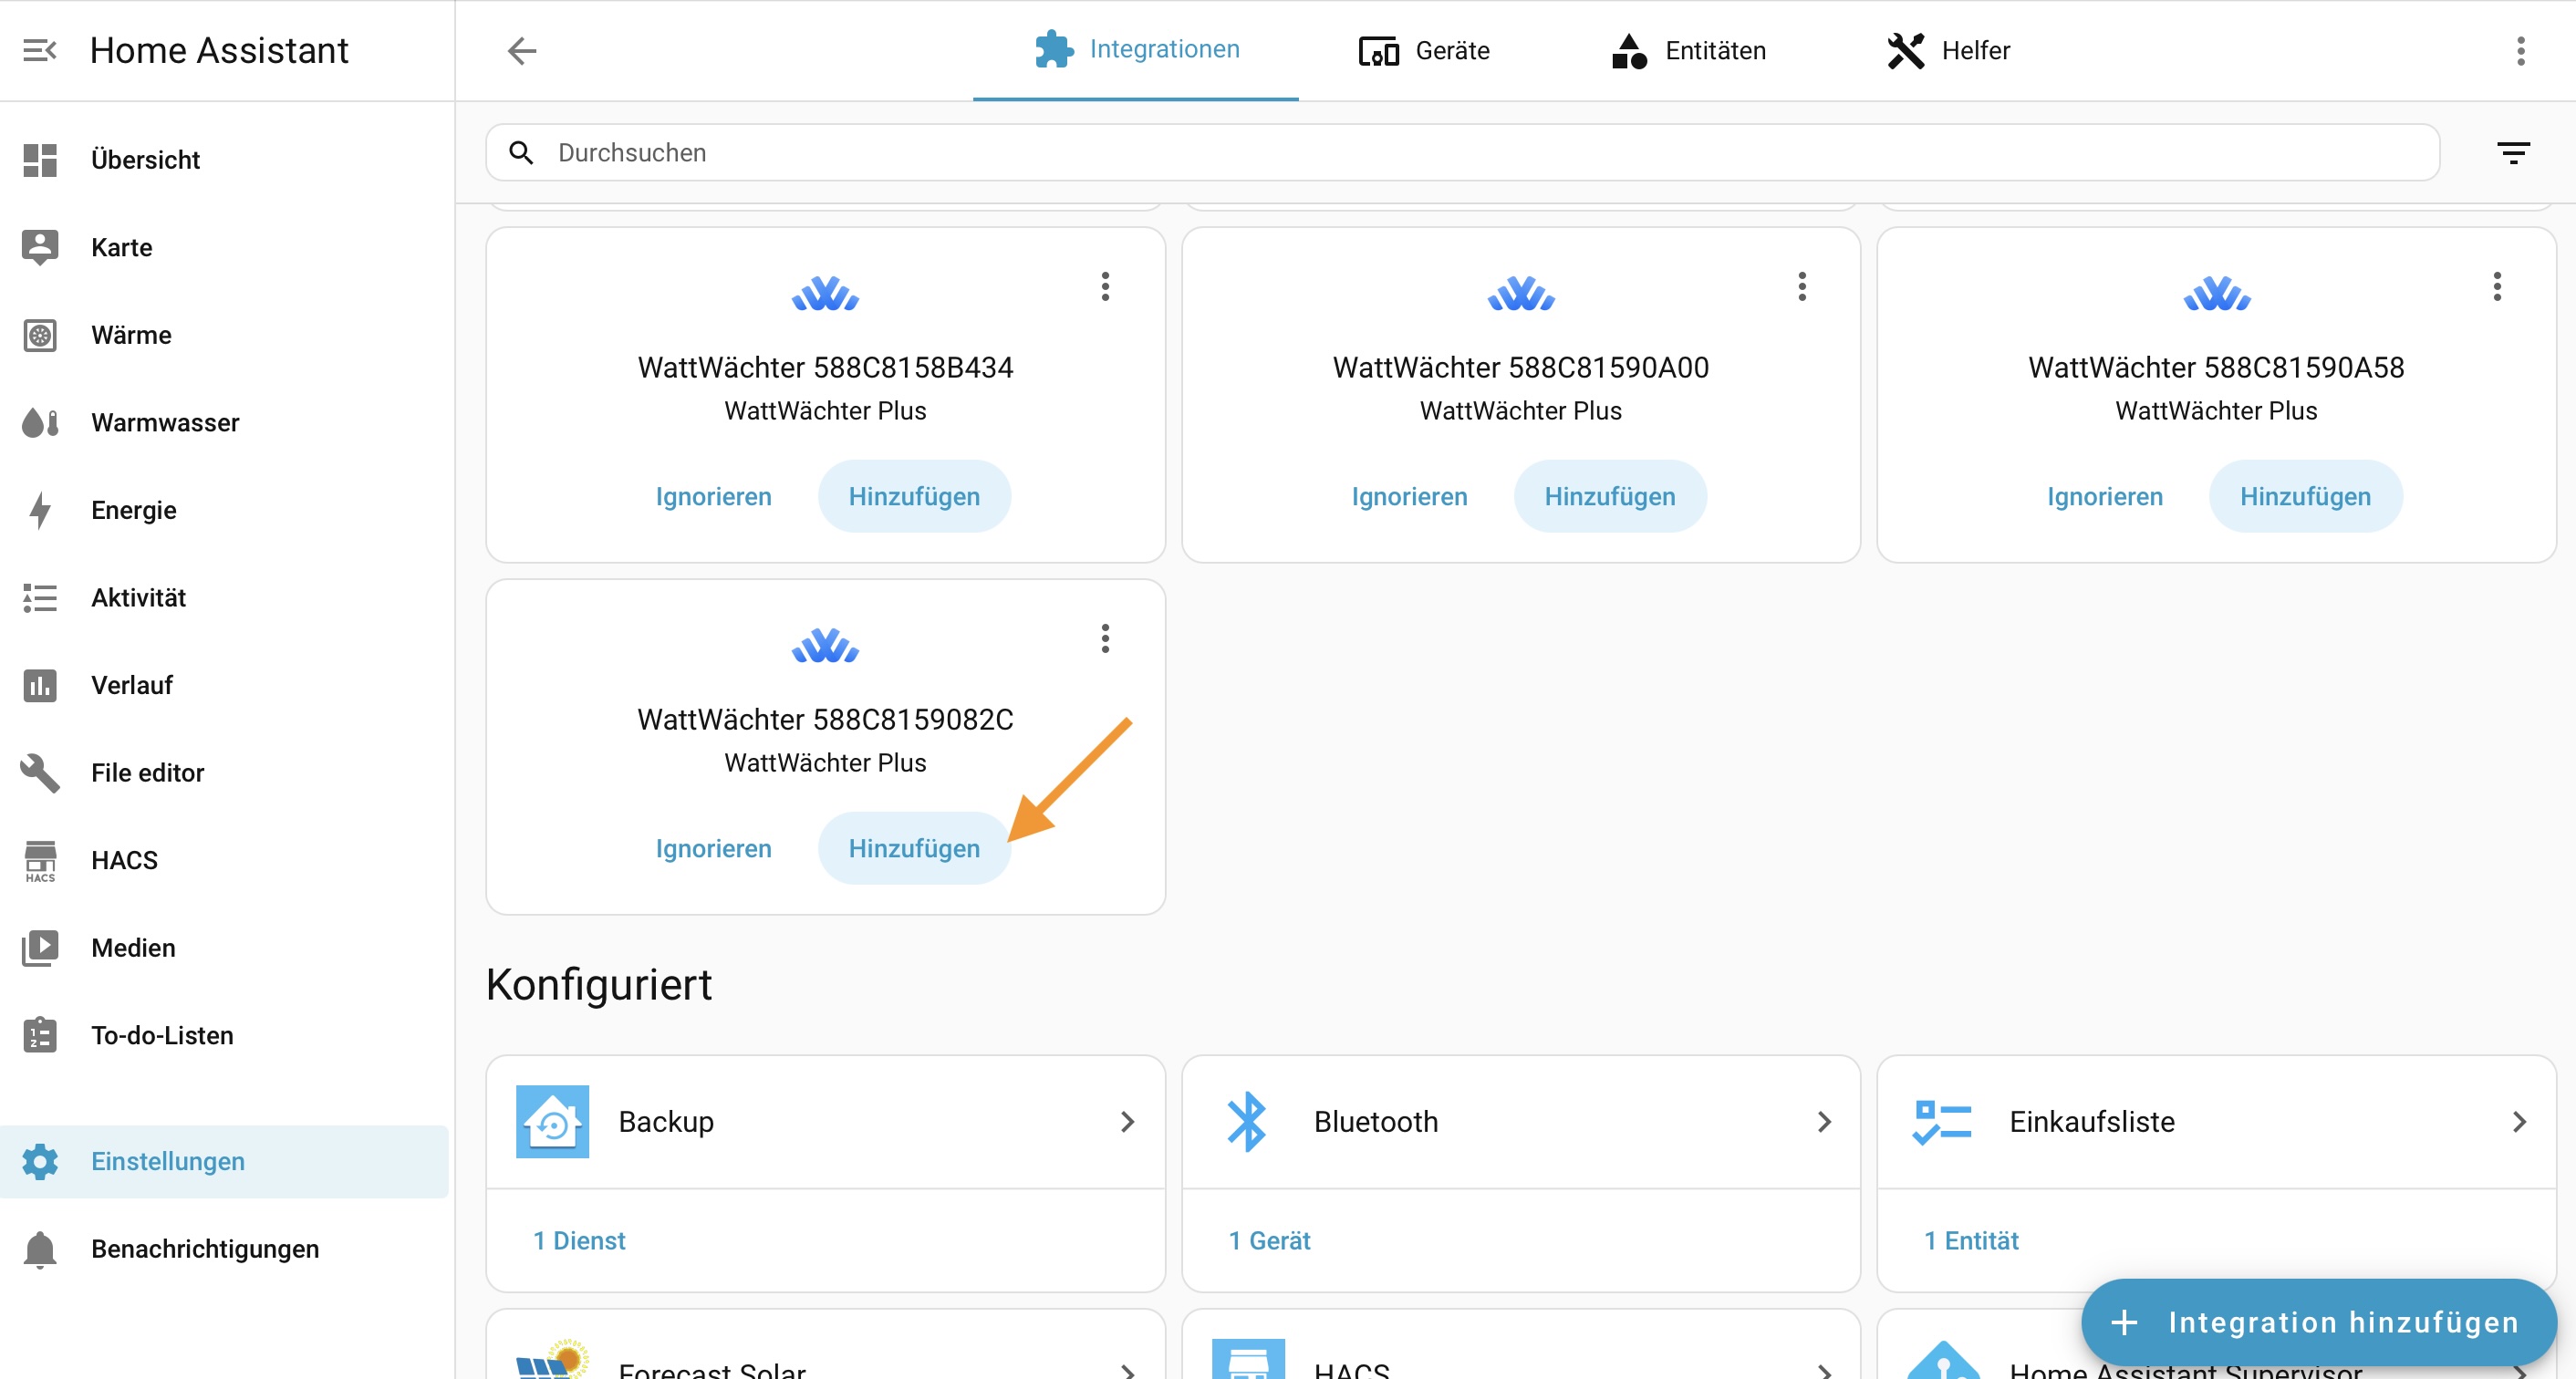
Home Assistant automatically detects every WattWächter Gas on the network — so you do not have to look for the integration under Add Integration first. Discovered devices are listed under Settings > Devices & Services in the Discovered section. Click Add there to set up a device.
As of Home Assistant 2026.12, a WattWächter Gas that is already connected via MQTT is no longer offered for setup. You can still add it manually, but then every meter value shows up twice.
Add Manually
If the device is not discovered automatically (e.g. because mDNS/Zeroconf is blocked on your network), you can add it manually: Settings > Devices & Services > Add Integration > WattWächter. Then enter the hostname (e.g. wattwaechter-3432df43d331.local) or the IP address (e.g. 192.168.178.50) of the device. Both are shown on the confirmation page at the end of the Wi-Fi setup; your router also lists the IP address.
IP address instead of hostname
If mDNS is blocked on your network, the ….local hostname usually cannot be resolved either. Use the IP address instead and make sure it does not change — the easiest way is a DHCP reservation in your router, see Settings → Wi-Fi → Fixed IP address.
Configure Device
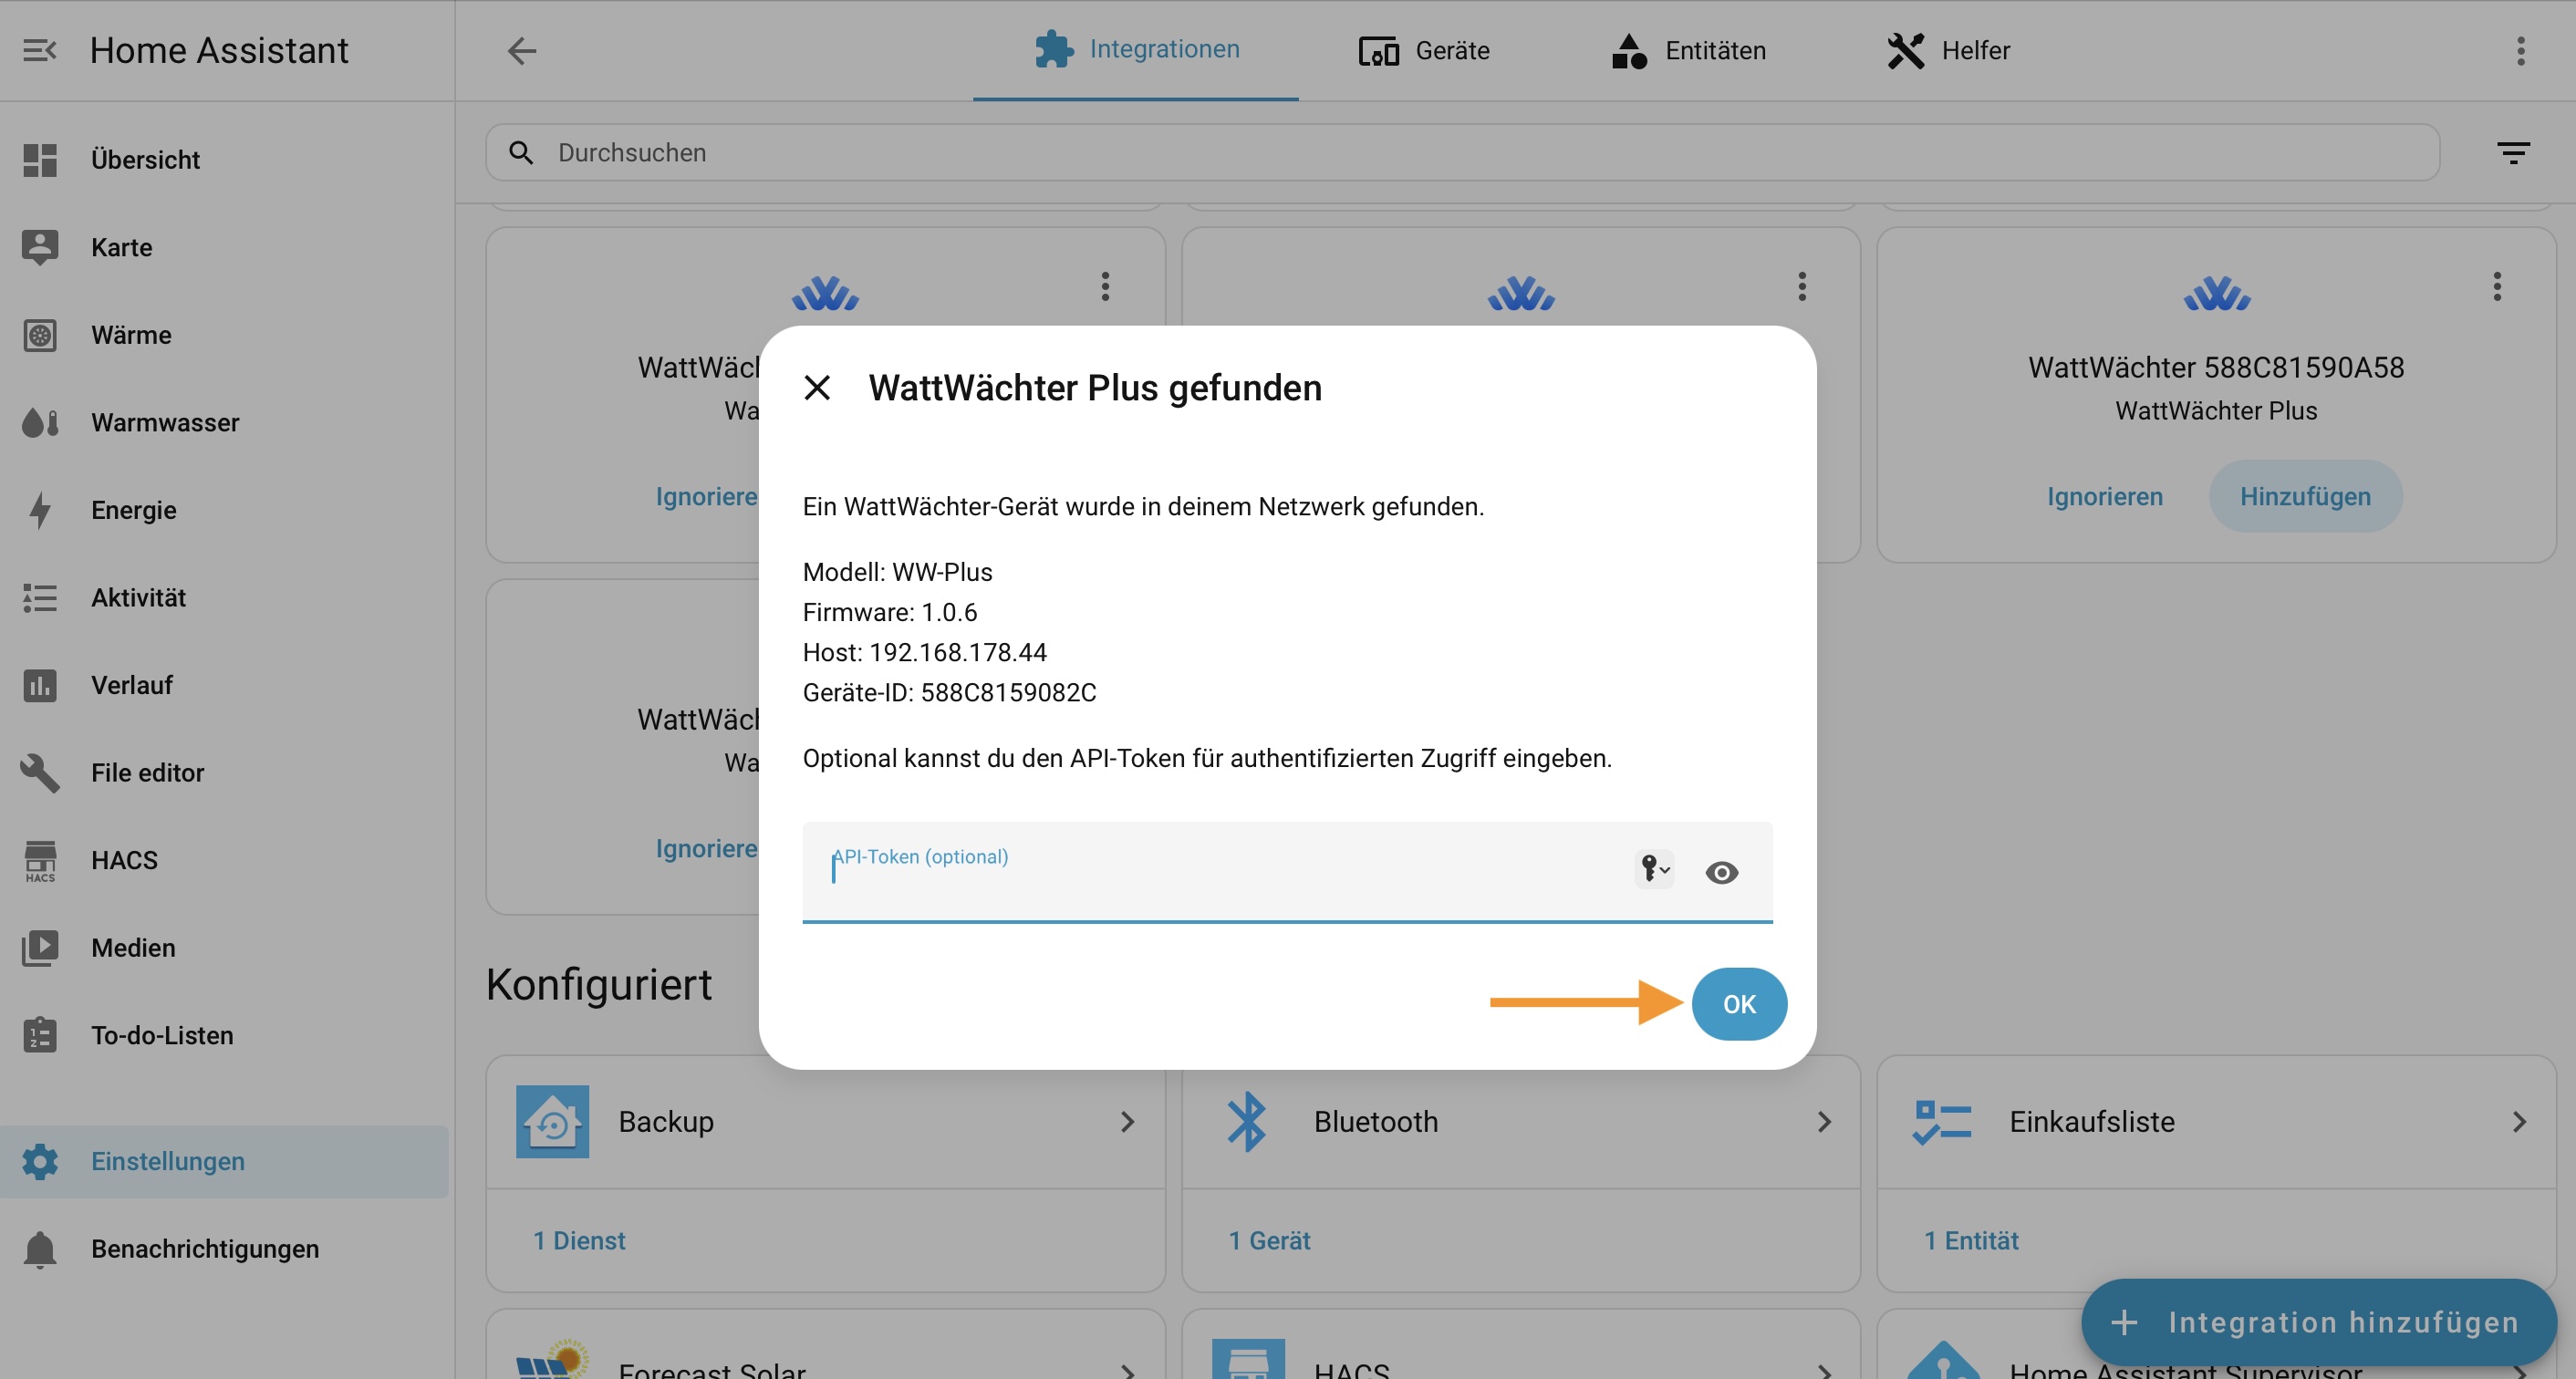
The configuration dialog displays the device information:
- Model: WW-GW-MF or WW-GW-ID
- Firmware: current version
- Host: IP address of the device
- Device ID: unique identifier
Optionally, you can enter an API token to enable authenticated access. Click OK to complete the setup.
Name Your Device
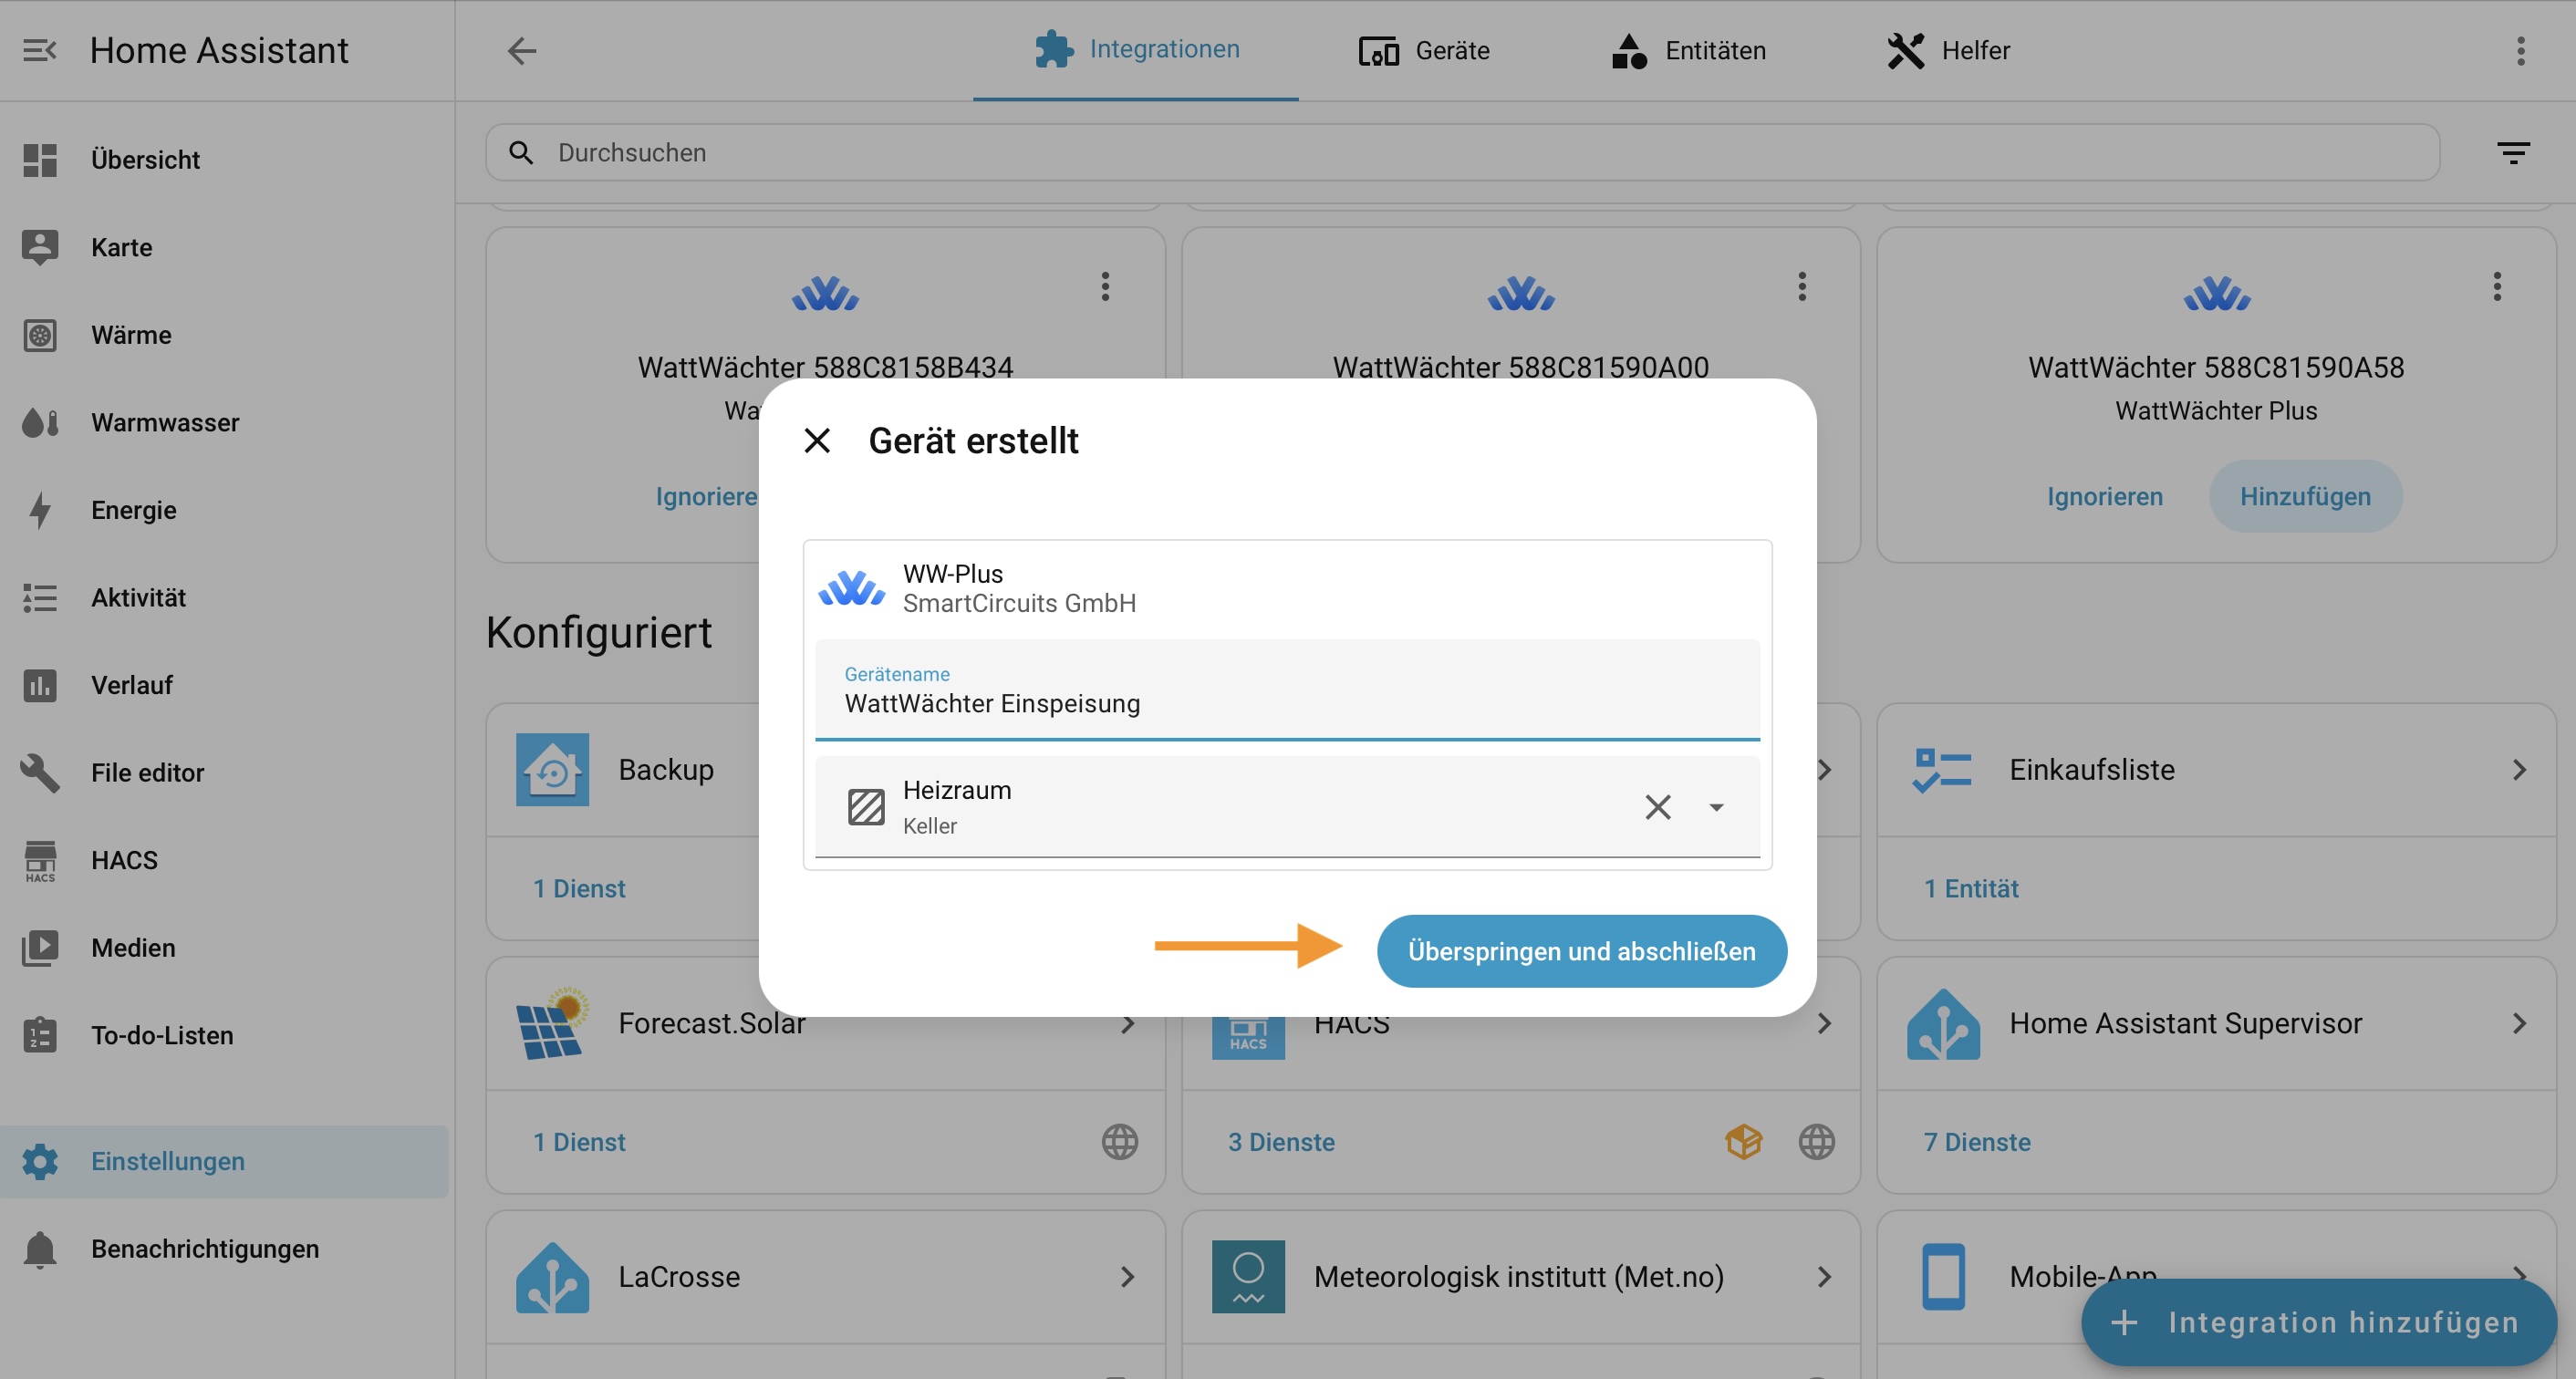
After configuration, you can assign a name and area to the device (e.g., "WattWächter Gas" in the area "Basement"). Click Skip and finish if you want to set this up later.
Available Sensors
The integration creates these sensors for the WattWächter Gas:
| Sensor | OBIS Code | Unit | Description |
|---|---|---|---|
| Gas consumption | 7-0:3.0.0 | m³ | Meter reading — usable directly in the energy dashboard as gas consumption |
| Gas flow rate | 7-0:43.0.0 | m³/h | Current flow rate |
| Gas power | 7-0:16.7.0 | kW | Flow rate × calorific value × Z-number |
Correcting the reading or exchanging the meter
If you correct the meter reading on the device, Home Assistant counts the difference as consumption. If you report a meter exchange in the web interface, the meter reading starts anew in Home Assistant without a jump in consumption.
Diagnostic sensors
There are also two diagnostic sensors. They are disabled by default — enable them in the device view under Diagnostic if you need them.
| Sensor | Unit | Description |
|---|---|---|
| Wi-Fi signal | dBm | Signal strength of the Wi-Fi connection |
| SSID | — | Name of the Wi-Fi network the device is connected to |
Scan Interval
The integration fetches meter data locally every 120 seconds. In the Home Assistant Core version this interval is fixed by Home Assistant and cannot be changed via the interface.
Need faster updates? Use MQTT instead
If you need meter values in Home Assistant more often than every 120 seconds (e.g. for live displays), connect the WattWächter via MQTT with auto-discovery instead. There you set the publish interval yourself — down to 1 second.
Important: use MQTT only in that case and do not set up the native integration as well — otherwise every meter value shows up twice (see MQTT Conflict). Setup: Home Assistant (MQTT).
Firmware Updates
For the WattWächter Gas too, the integration creates a firmware update entity. It shows:
- the installed and the latest available firmware version,
- the release notes of the new version,
- an Install button that starts the OTA update right from Home Assistant.
An available update appears as usual under Settings > Updates. After installing, the device restarts; Home Assistant shows the new version on its next poll. You can still update via the web interface, the app or the cloud portal instead — see Updates.
Troubleshooting
Device not automatically discovered
Make sure that:
- The WattWächter Gas is powered on and connected to WiFi
- Home Assistant and the WattWächter are on the same network/subnet
- mDNS/Zeroconf is not blocked in your network (e.g., by VLAN isolation or firewall)
- The device is not connected to a guest WiFi network — guest networks typically prevent communication between devices (client isolation)
You can also add the device manually: Settings > Devices & Services > Add Integration > WattWächter and enter the IP address.
MQTT Conflict
If MQTT auto-discovery is active on the WattWächter and the local API integration is set up as well, the meter values show up twice in Home Assistant. As of Home Assistant 2026.12, the automatic discovery therefore no longer offers a device that is connected via MQTT; when adding it manually, Home Assistant still doesn't warn you. Either disable MQTT auto-discovery on the device or use the MQTT integration instead of the local API integration.
Authentication Error
If the API token has changed, you can update it via Settings > Devices & Services > WattWächter > Re-authenticate.