Web interface
The WattWächter Gas features a built-in web interface (WebUI) accessible via any browser on your local network. It appears in German or English — depending on the language selected under Settings → Time & language.
Same interface as on the WattWächter Plus
The web interface of the WattWächter Gas is laid out the same as on the WattWächter Plus. The dashboard shows the flow rate and the meter reading in m³ instead of power and kWh, and there is no IR self-test — see What is different from the Plus. The screenshots on this page show the WattWächter Gas.
Access
Open in your browser:
http://wattwaechter-XXXXXXXXXXXX.local
What does XXXXXXXXXXXX mean?
The twelve X's represent your WattWächter's individual device ID (the last 12 characters of its MAC address, hexadecimal). You can find it e.g. in the Cloud Portal or in the app.
Alternatively, you can use the IP address directly. How to find the mDNS name or IP address of your WattWächter is described in our FAQ.
The following home page will open:
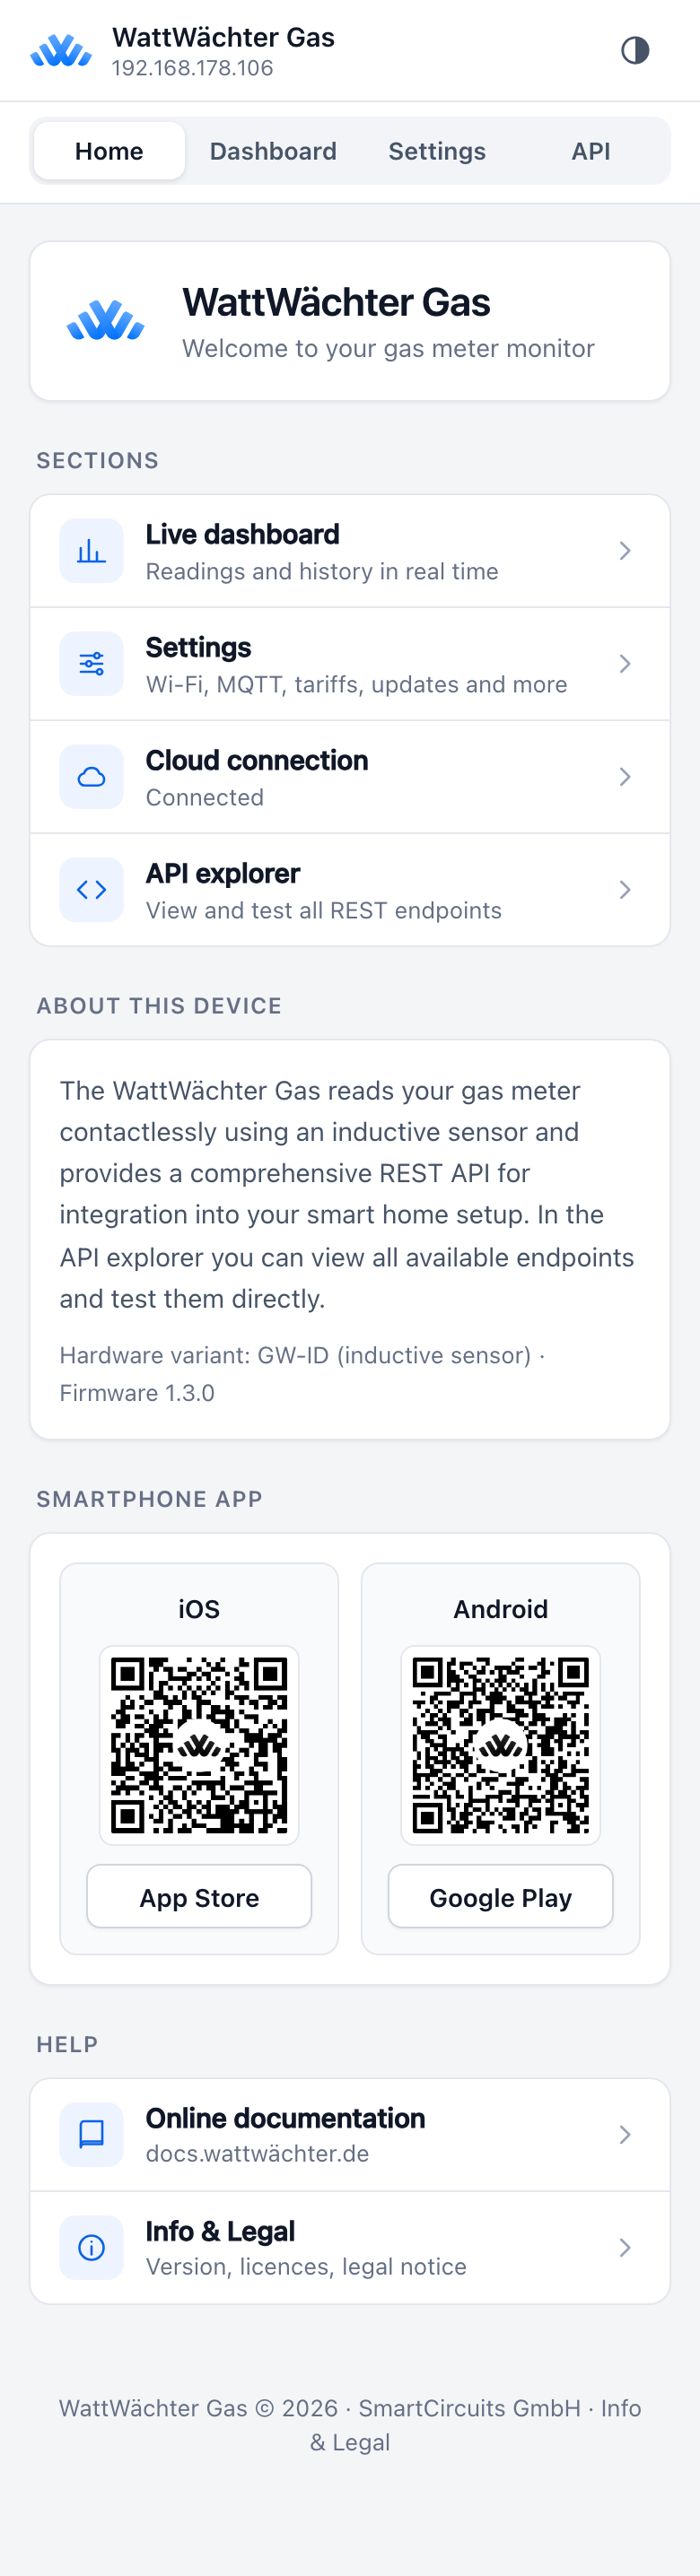
Services & Integration
The following features are accessible through the web interface:
Dashboard
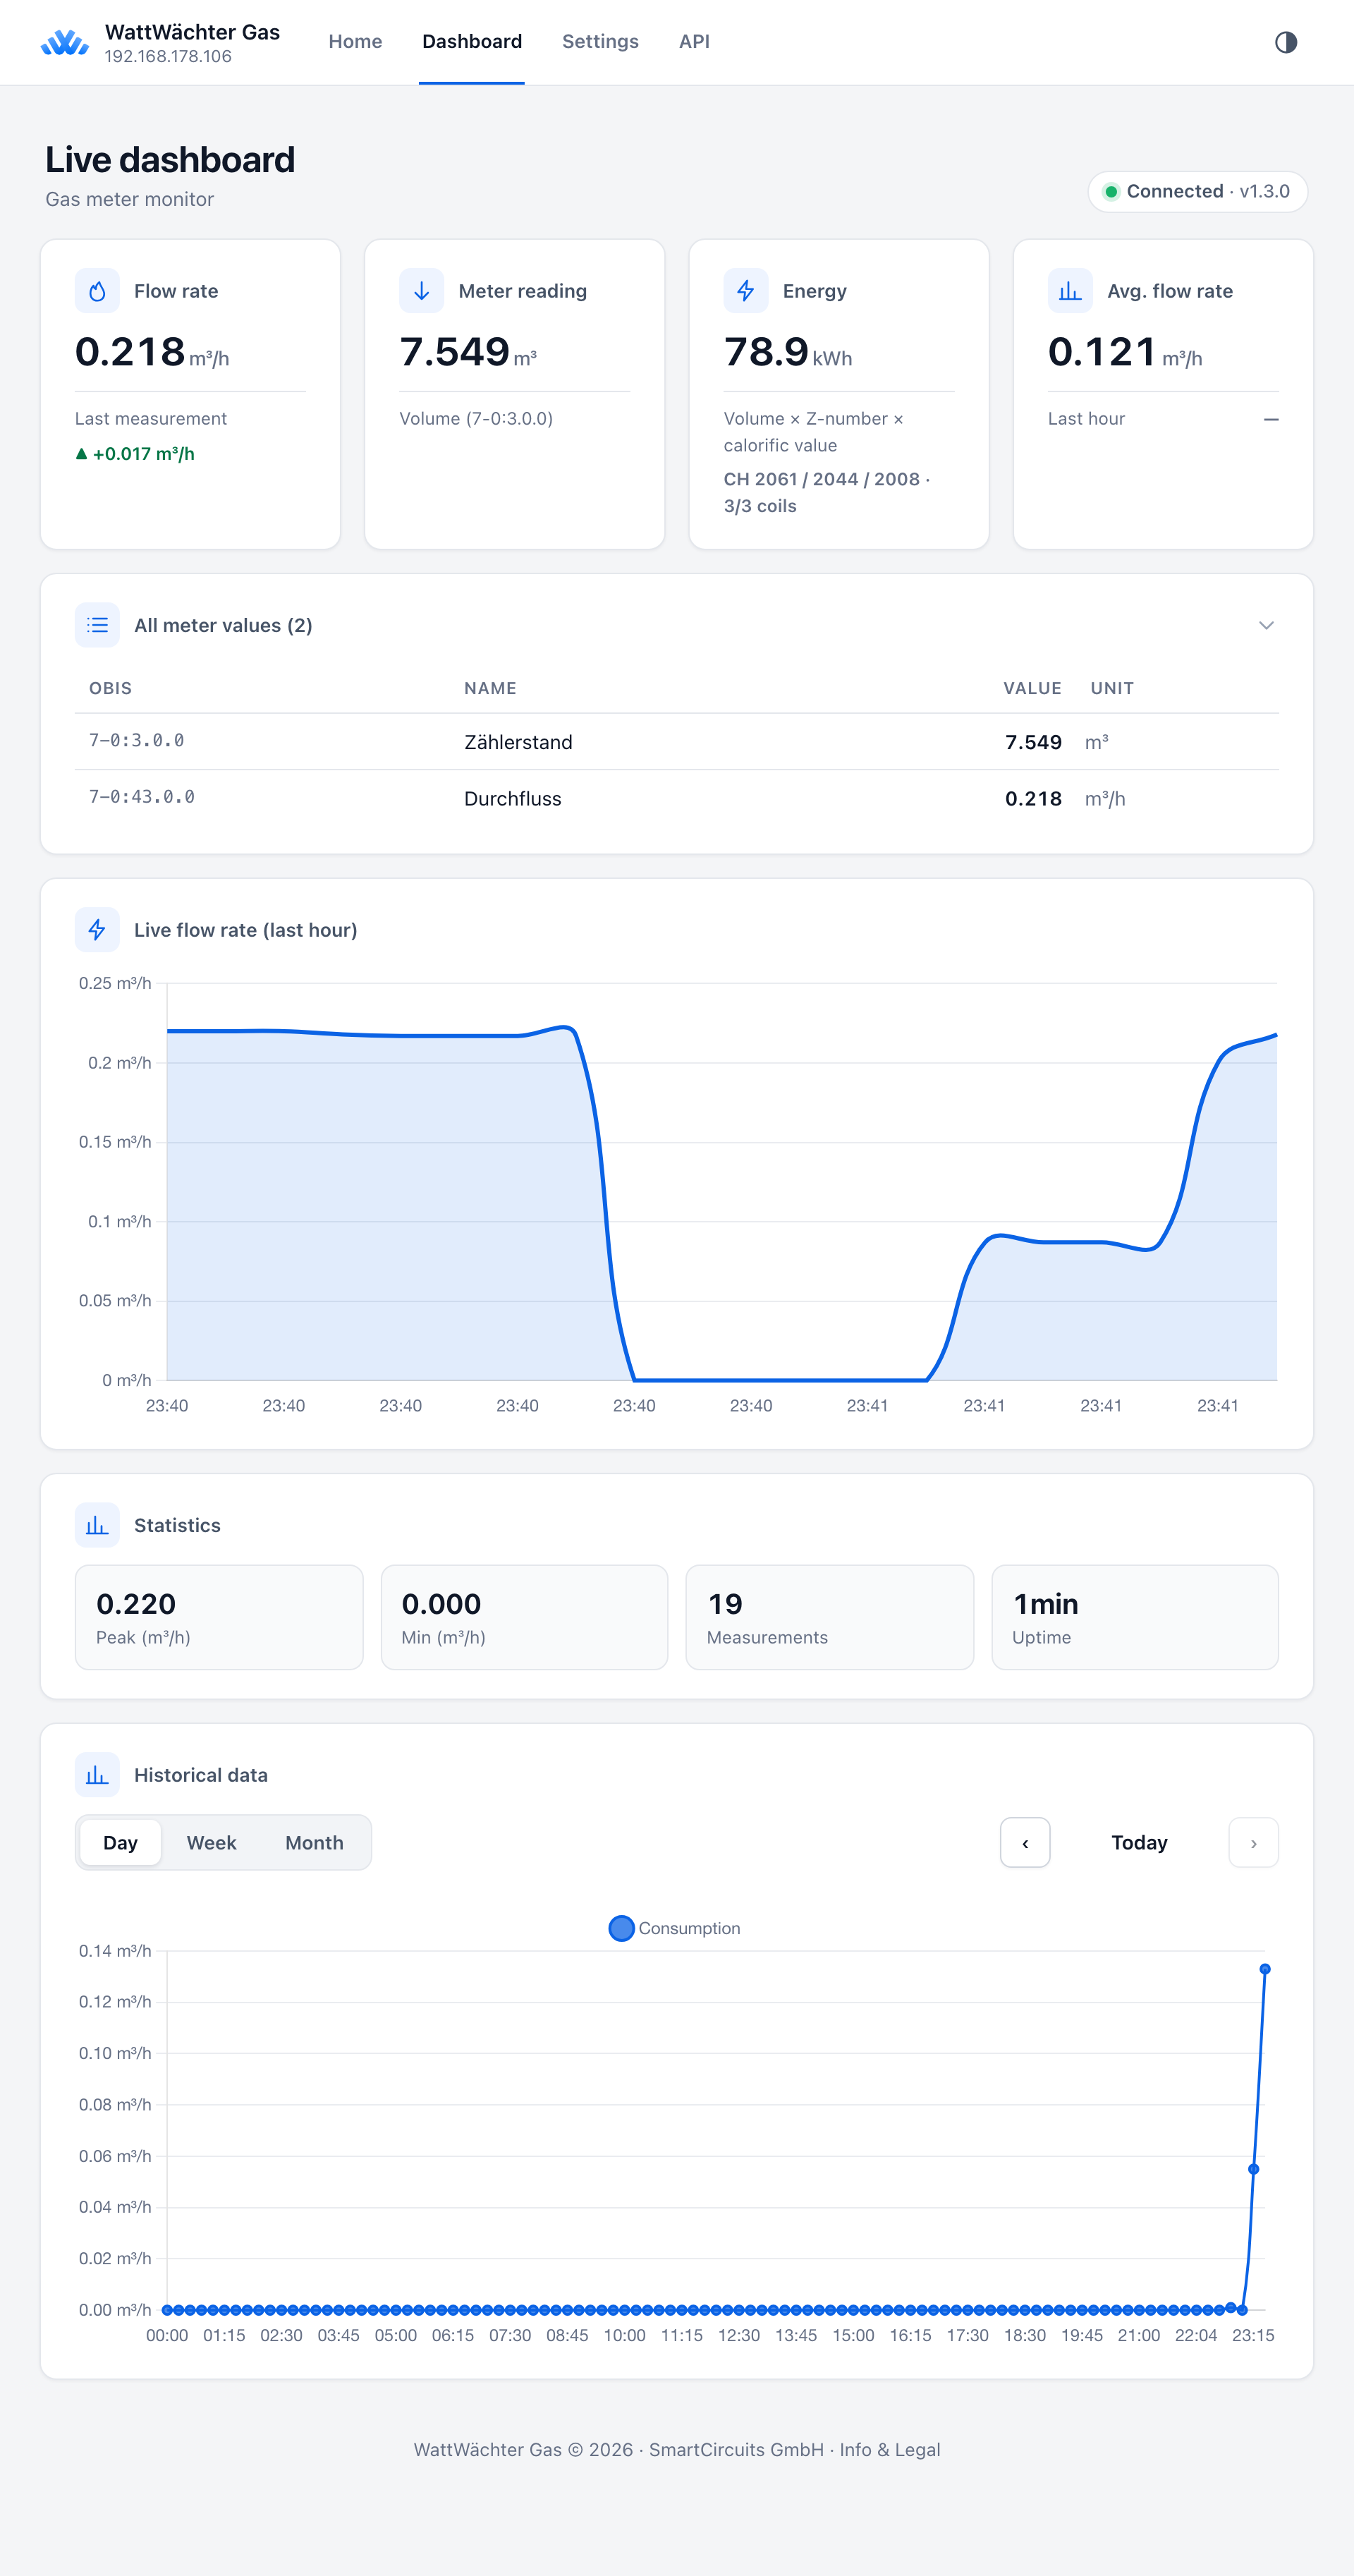
The dashboard is the main view of the web interface and shows your energy data in real time.
Authentication
If API authentication is enabled, you will be prompted for an API token when opening the dashboard. Enter the READ Token to view data.
Live Data
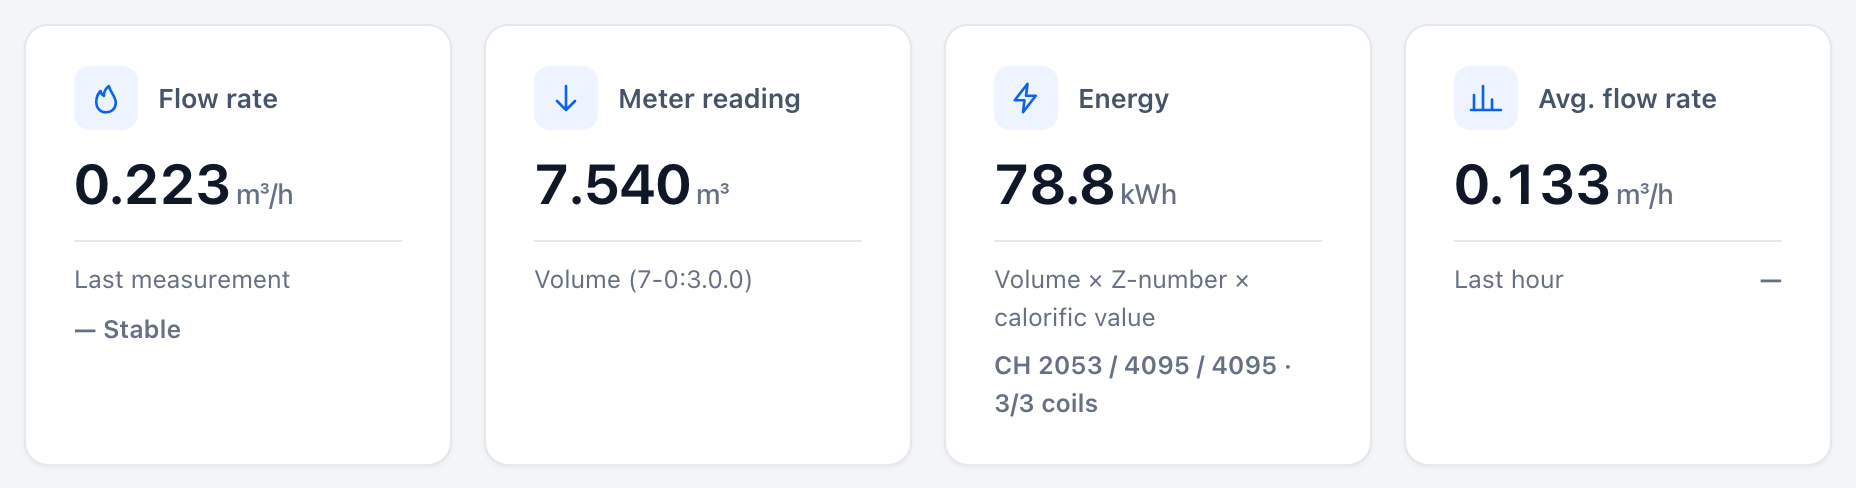
- Flow rate — current flow rate in m³/h (OBIS
7-0:43.0.0) - Meter reading — as shown on your meter, in m³ (OBIS
7-0:3.0.0) - Energy — volume × Z-number × calorific value in kWh
- Ø flow rate — mean value over the observation period
Live data is automatically updated every 4 seconds.
Live Chart
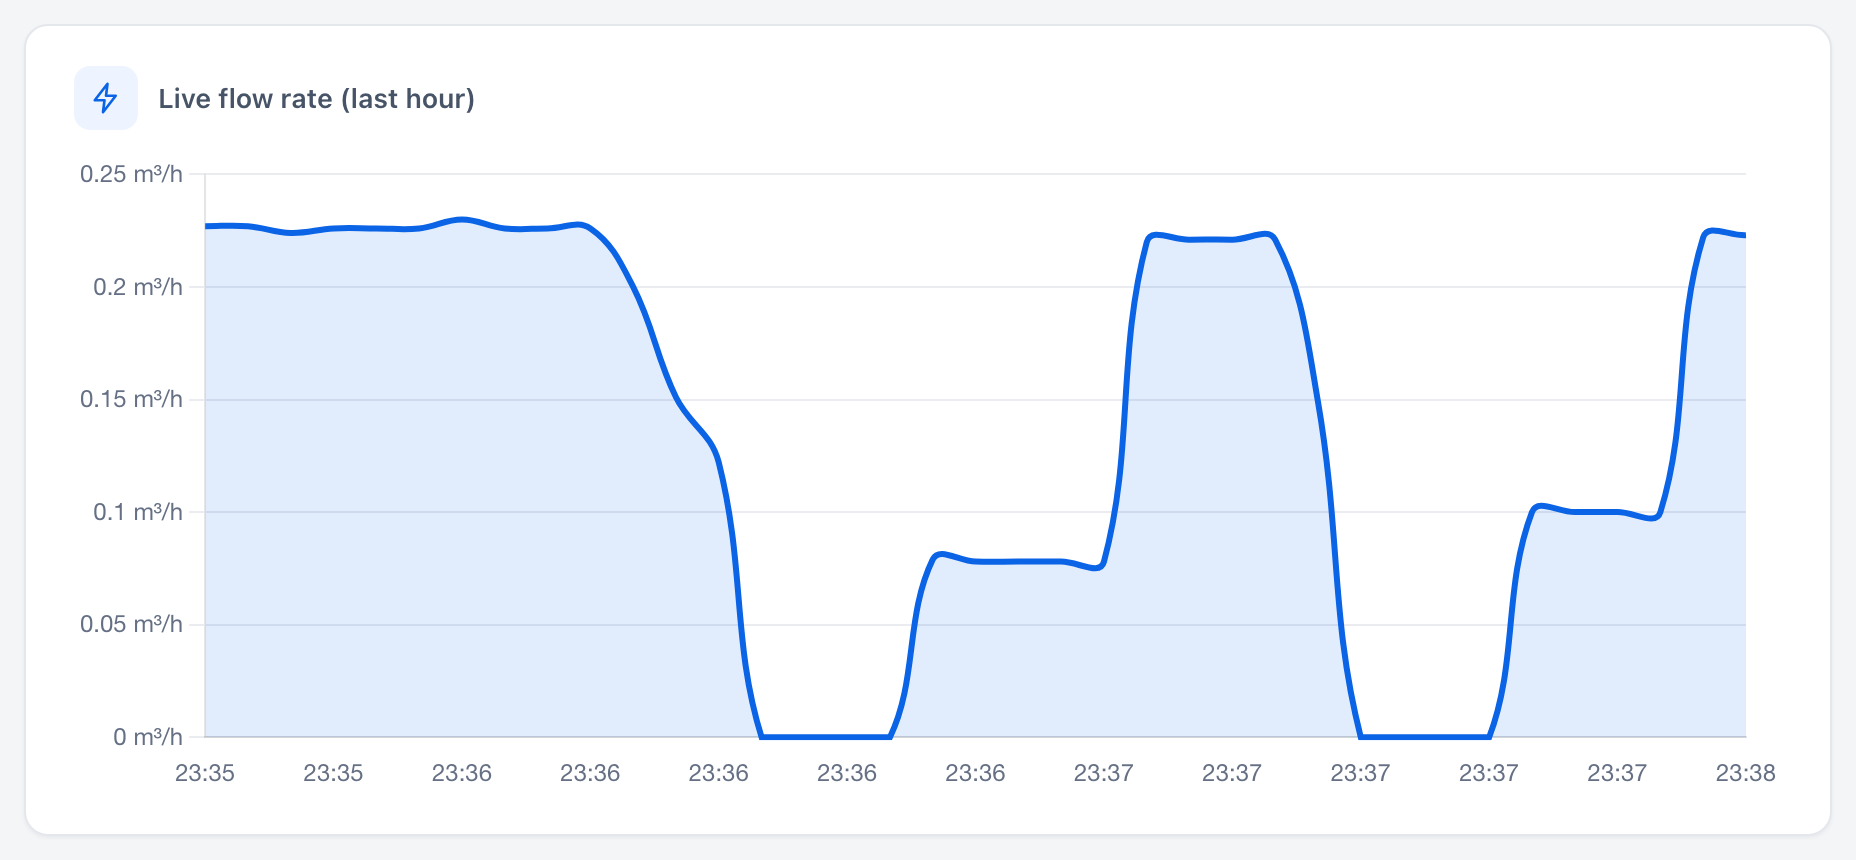
A line chart shows the flow rate over the last 60 minutes. Hover over a data point to see the exact values.
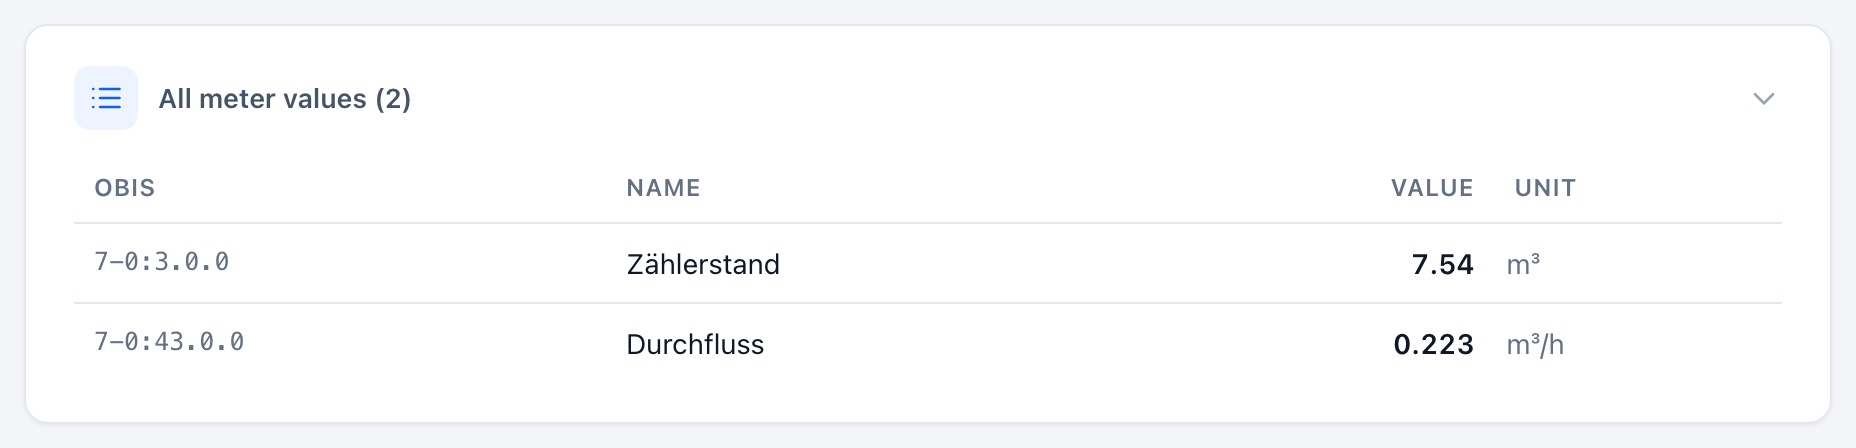
All Meter Values
An expandable section lists all OBIS codes received from the meter, including description, current value, and unit. This shows you which data your meter actually provides.
Statistics
- Peak — highest flow rate in the last hour
-
Min — lowest flow rate in the last hour
-
Measurements — Number of data points received
- Uptime — Device runtime since last reboot

Historical Data
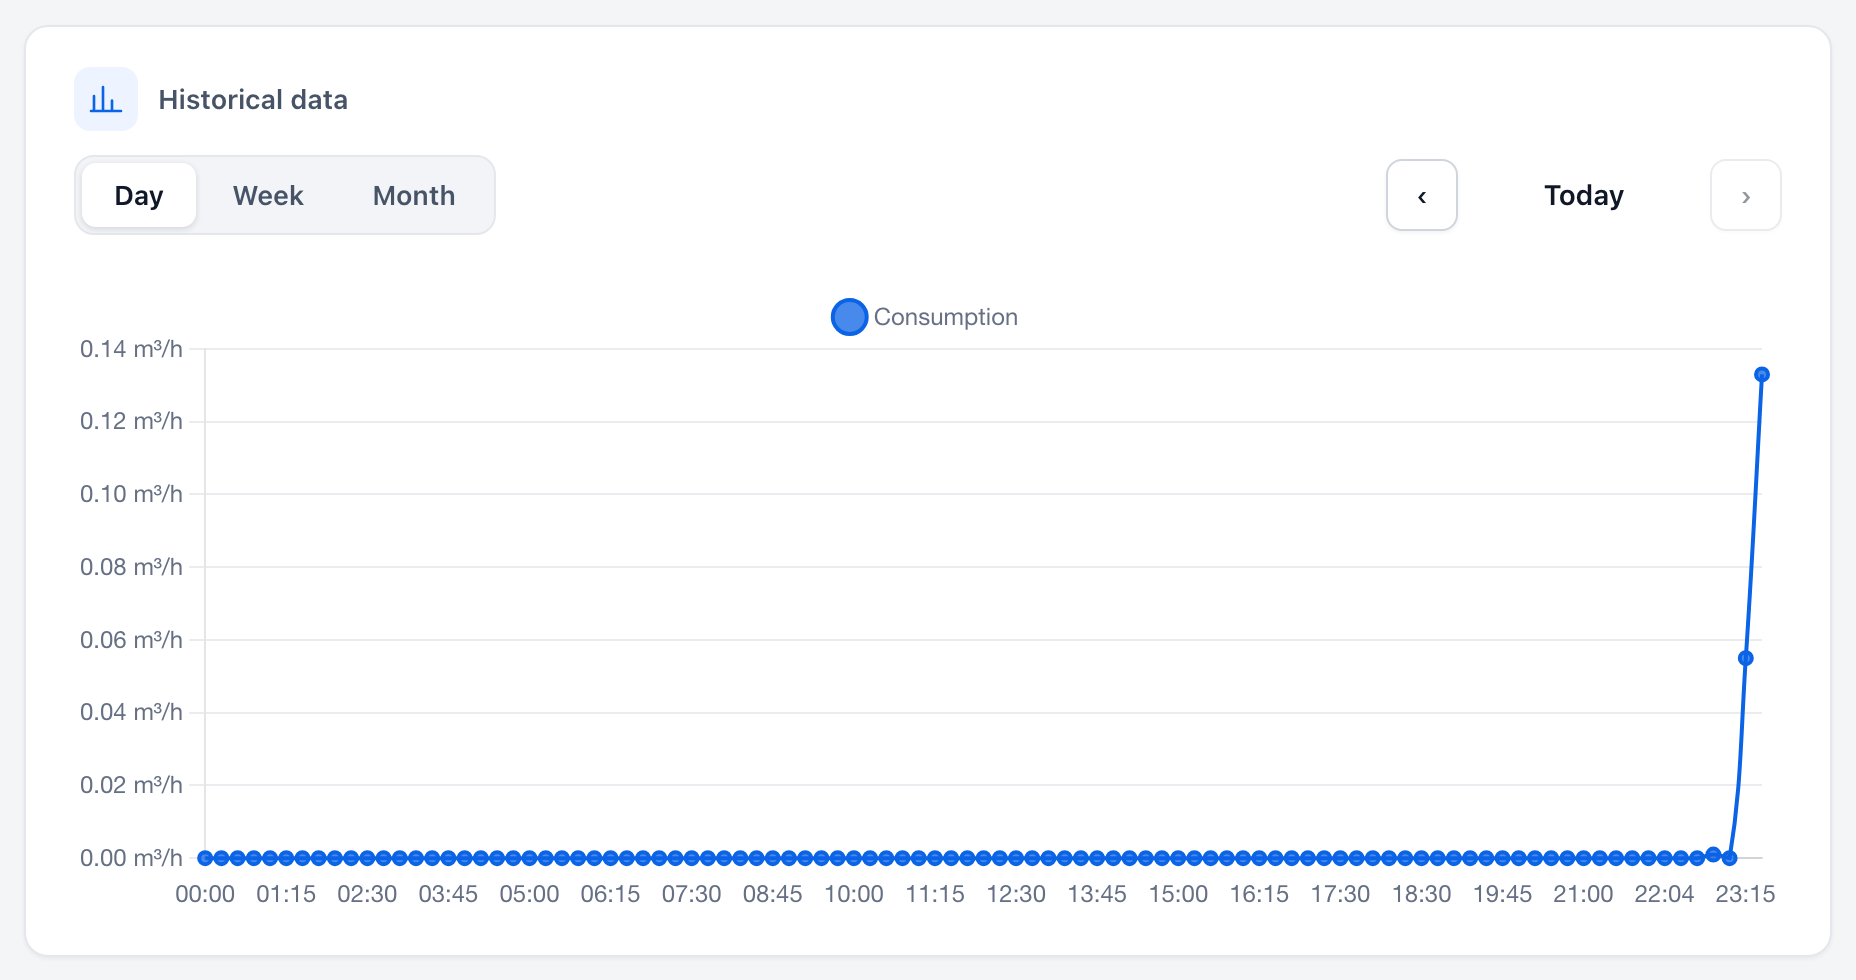
Below the live data, you'll find historical analysis in three views:
| View | Resolution | Time Range | Chart Type |
|---|---|---|---|
| Day | 15 minutes | 1 day (up to 30 days back) | Line chart |
| Week | Daily totals | 7 days | Bar chart |
| Month | Daily totals | 1 month | Bar chart |
Each view shows the consumption — as flow rate in m³/h in the day view, in m³ for week and month. Use the previous/next buttons to navigate through time periods.
Settings
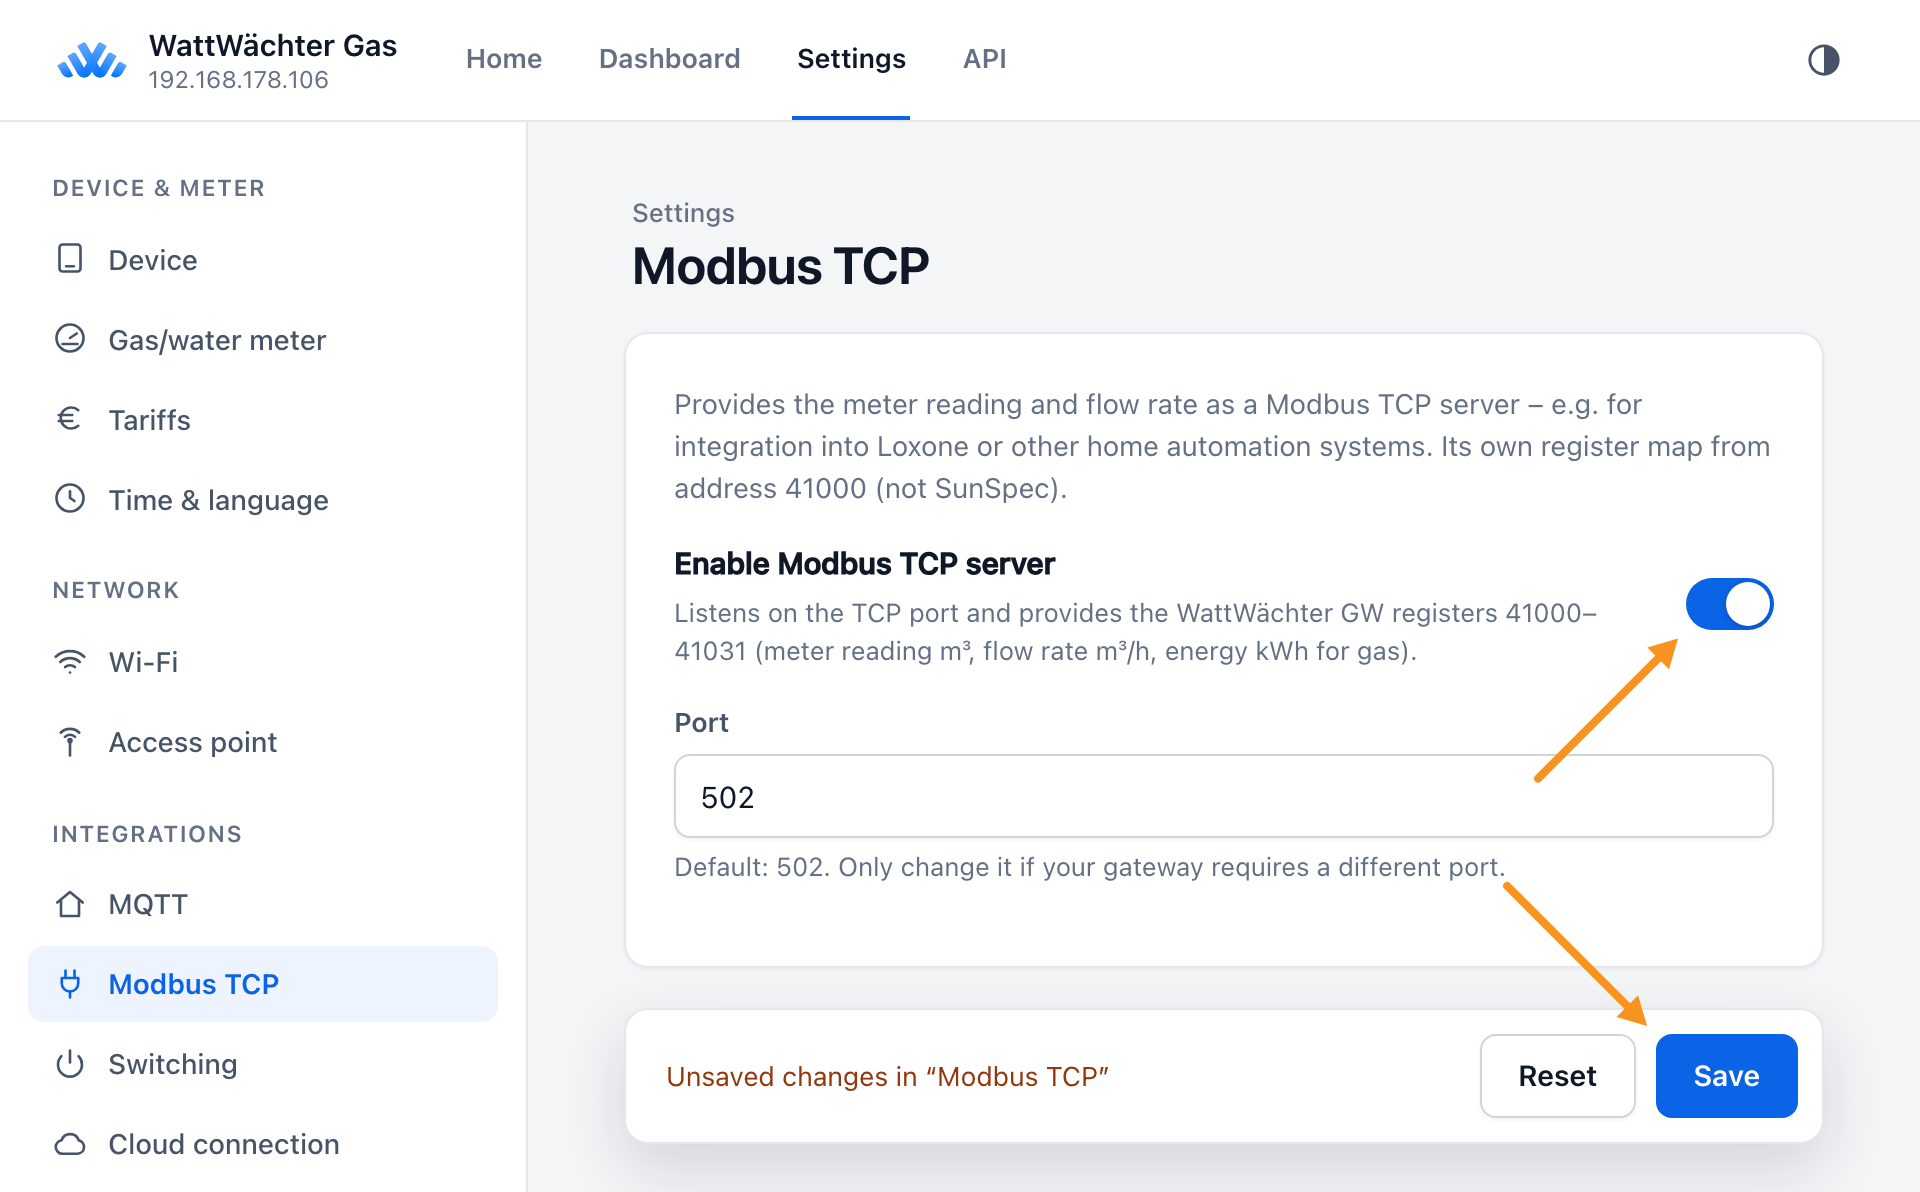
The "Settings" button opens the device configuration. Its sections are arranged in four groups: on a computer you pick a section in the sidebar on the left, on a smartphone you expand it in the list. Changes only take effect once you press Save, and Reset discards them.
| Group | Section | Documentation |
|---|---|---|
| Device & meter | Device | Settings → Device — device name, status LED |
| Gas/water meter | Settings → Gas/water meter — medium, meter reading, volume per revolution | |
| Tariffs | Settings → Tariffs | |
| Time & language | Settings → Time & language — time zone, language, NTP server | |
| Network | Wi-Fi | Settings → Wi-Fi — primary and secondary Wi-Fi, static IP |
| Access point | Settings → Access point | |
| Integrations | MQTT | Settings → MQTT, Interfaces → MQTT |
| Modbus TCP | Settings → Modbus TCP, Interfaces → Modbus TCP | |
| Switching | Settings → Switch devices — Shelly or custom URL by reading, time or duration | |
| Cloud connection | Settings → Cloud connection, Cloud Portal → Pairing a device | |
| Security & maintenance | API security | Settings → API security |
| Updates | Settings → Updates, Updates | |
| System | Settings → System — restart |
Example: the Modbus TCP section with its toggle, port field and the Save button.
→ What the individual settings do: Settings
Cloud connection
The Cloud connection entry on the start page shows whether the device is connected to your WattWächter account and leads to Settings → Cloud connection. There you pair the device with a pairing token and disconnect it again — with or without deleting your cloud data.
→ Detailed guide: Cloud Portal → Pair a Device
API Explorer
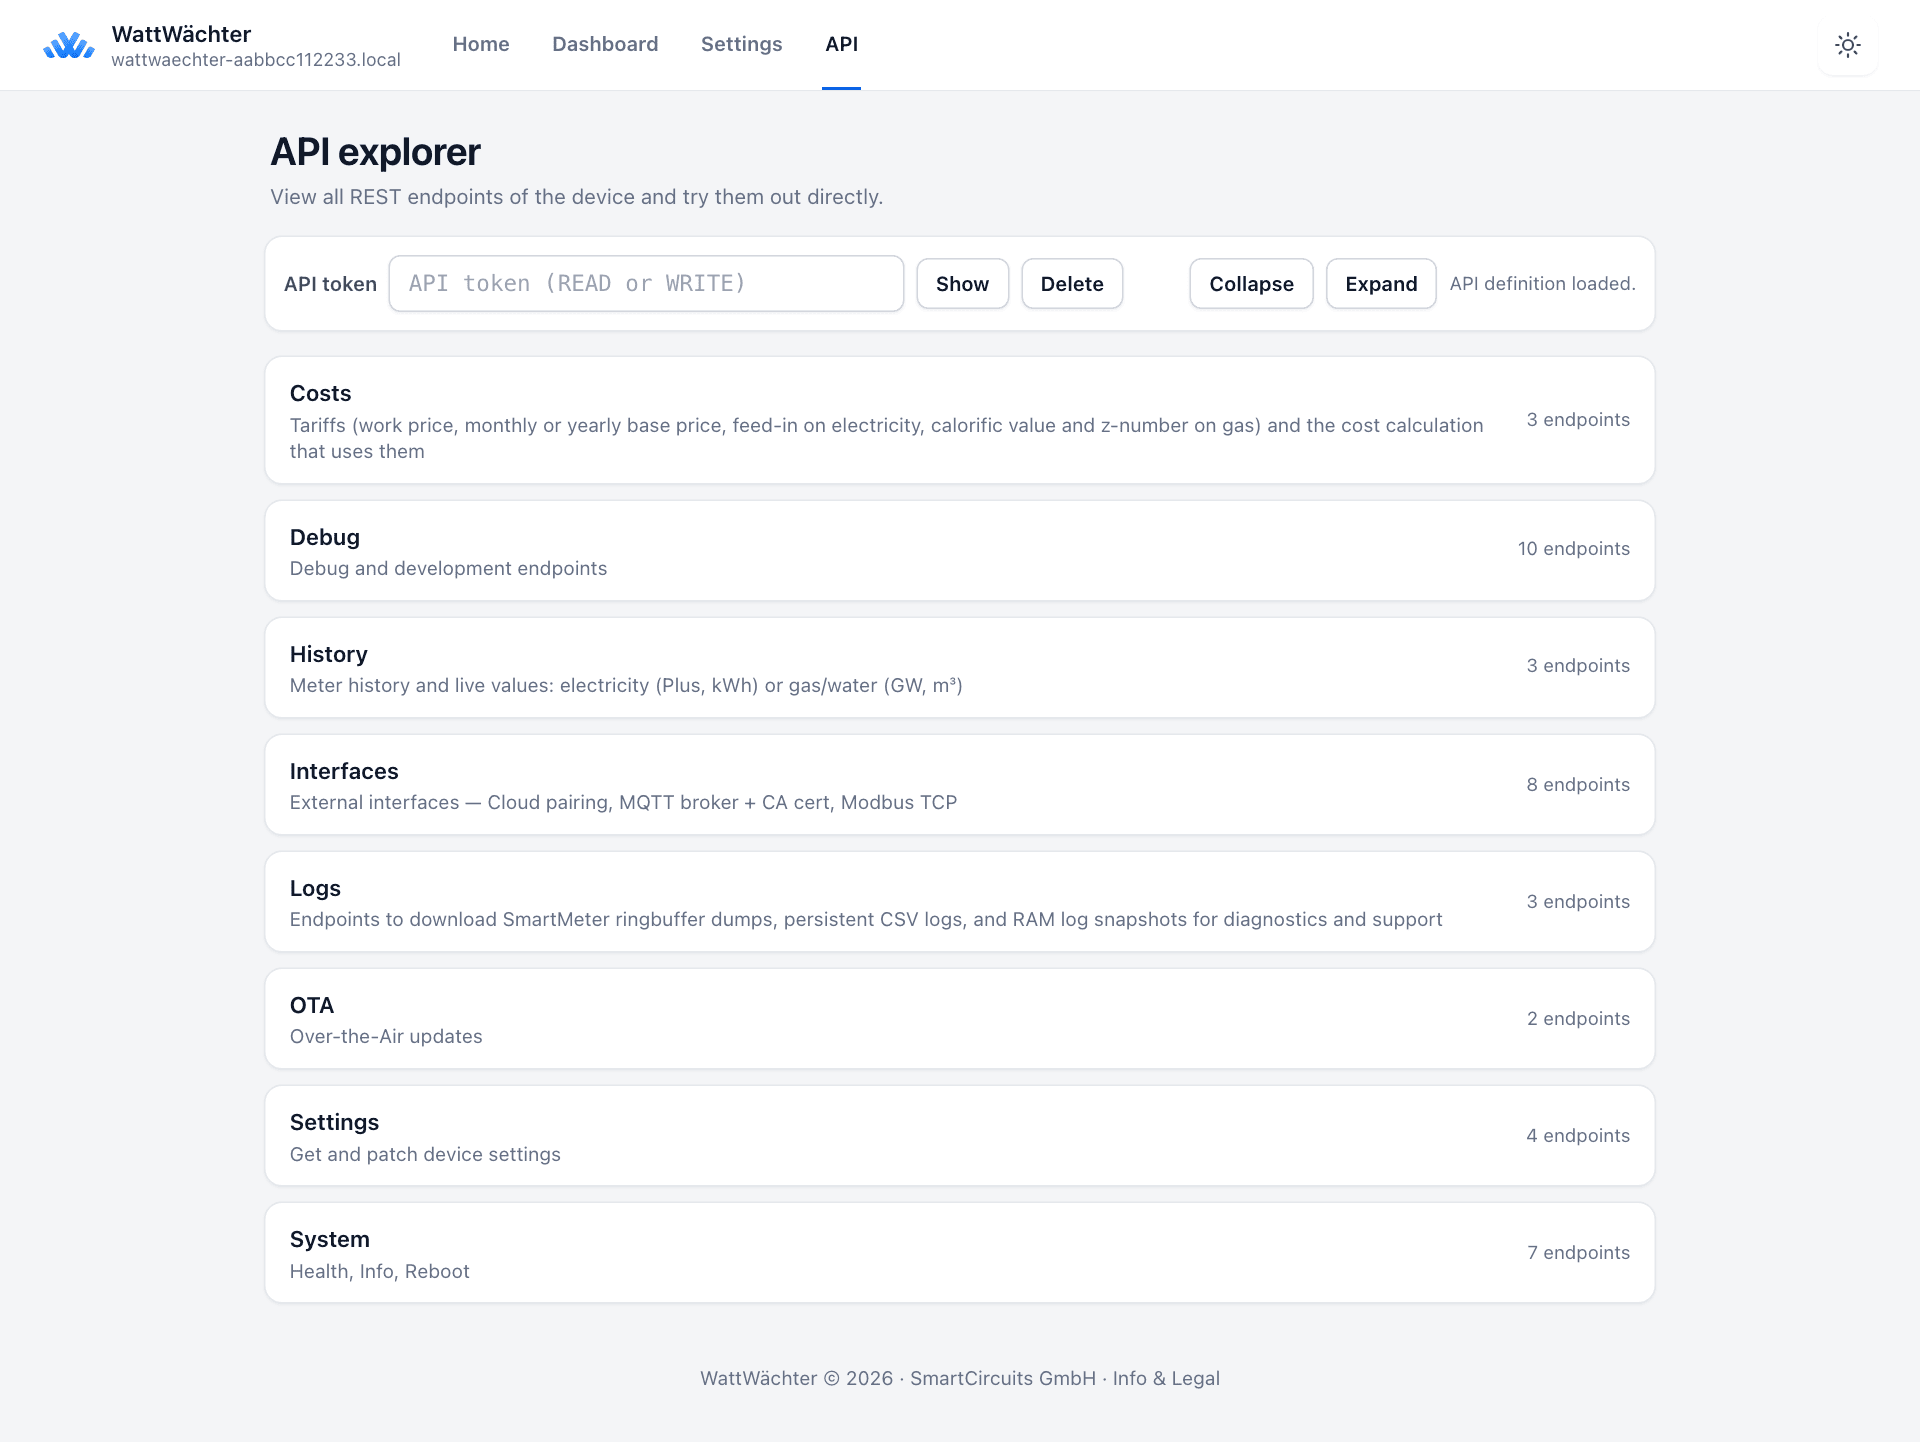
The "API Explorer" button opens an interactive API documentation that lets you test all REST endpoints directly in your browser.
- All available endpoints with HTTP method (GET, POST, DELETE)
- Security status (token required / public)
- Request/response schemas
- Input fields for parameters and request body
- Direct execution with response display
→ Full API documentation: REST API
Help
The "Online Documentation" button takes you directly to this documentation site.
Info & Legal
The "Info & Legal" link at the bottom of the page provides the following information:
- Manufacturer Information — SmartCircuits GmbH, contact details
- Open Source Licenses — Libraries used and their licenses
- Usage Notices — Notes on calibration, privacy, and power supply