Reading electricity meters
Every WattWächter for electricity reads your meter via its optical interface (infrared, D0). You need a digital electricity meter — a modern metering device, smart meter or electronic household meter (eHZ) — with such an interface.
Your way to your consumption data in three steps:
- Check your meter — is it on the Supported Meters list?
- Prepare your meter — many meters only release all values after a PIN has been entered (NES/Echelon meters need a password instead), see Preparing the meter.
- Choose and set up your device — Which device fits? shows which WattWächter suits you.
Which device fits?
All four WattWächter devices for electricity read the meter via the same optical interface — they differ in firmware, setup and connectivity, for example to the WattWächter app and the cloud portal:
-
WattWächter Plus
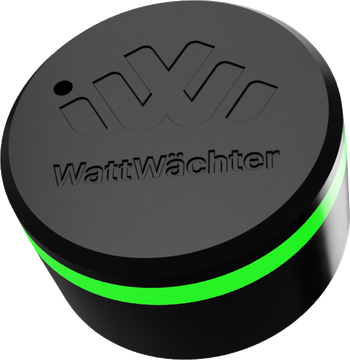
For everyone who wants to get started without tinkering: supported meters are detected automatically, setup via app or browser, web interface, cloud portal, REST API, MQTT, Modbus TCP and Home Assistant integration.
-
WattWächter Tasmota
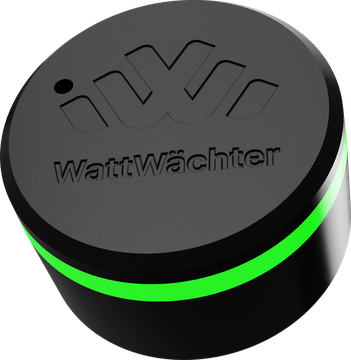
For Tasmota users: pre-installed Tasmota firmware with scripting, data via Wi-Fi (MQTT) or directly via USB, plus ThingSpeak and KNX. There is no automatic meter detection: you set up your meter yourself by loading the matching meter script and adapting it if needed.
-
WattWächter USB
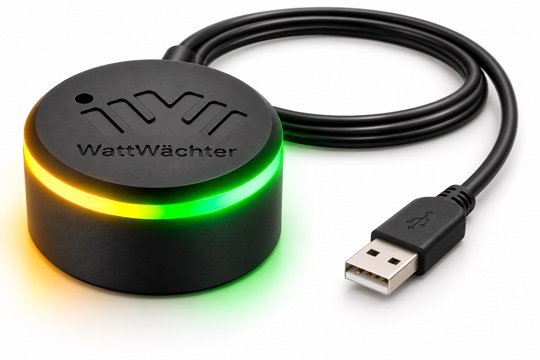
For PC, Mac and Raspberry Pi: IR reading head with a built-in USB converter, no driver and no setup on the device. The data is evaluated with software such as Home Assistant (EDL21), Volkszähler or ioBroker.
-
WattWächter TTL
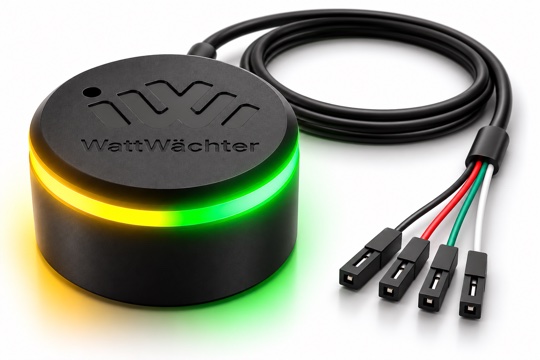
For makers: a pure IR reading head with TTL interface. You provide the evaluation electronics and software — e.g. with an ESP32, D1 Mini, Raspberry Pi or Arduino.
The differences in detail
| WattWächter Plus | Tasmota Gen.2 | Tasmota Gen.1 | USB | TTL | |
|---|---|---|---|---|---|
| Firmware | WattWächter firmware | Tasmota (pre-installed) | Tasmota (pre-installed) | none — data passed through unchanged via USB | none — your own software |
| Meter detection | automatic | load the matching script and adapt it if needed | load the matching script and adapt it if needed | by your software | your own read-out program |
| Setup | Apple / Android app (Bluetooth) or browser (access point) | browser (access point) | browser (access point) | plug in, no driver | via your evaluation electronics |
| WattWächter app | yes: iOS (iPhone), iPadOS (iPad) and Android (phone and tablet) | no | no | no | no |
| Cloud portal | optional | no | no | no | no |
| Data output | Wi-Fi: web interface, REST API, MQTT, Modbus TCP, cloud (optional) | Wi-Fi (MQTT) and additionally USB | Wi-Fi (MQTT) or USB | USB (serial port / COM port) | TTL (RX/TX) |
| Statistics | on the device: live values, 15-minute values for the last 30 days and daily values for up to two years; with the optional cloud also long-term in the app and cloud portal | daily and monthly consumption via script; history e.g. via Home Assistant or ThingSpeak | daily and monthly consumption via script; history e.g. via Home Assistant or ThingSpeak | by your software, e.g. Home Assistant or Volkszähler | — |
| Switching devices | yes: turn a Shelly, a Tasmota device or another device on and off over HTTP, by readings, time of day or run time, up to four rules — see Settings → Switch devices | no ready-made function — only with your own script (WebSend) |
no ready-made function — only with your own script (WebSend) |
— | — |
| EcoTracker and Shelly emulation | yes (from firmware 1.3): battery storage systems and inverters read the Plus as an EcoTracker or a Shelly Pro 3EM, e.g. EcoFlow STREAM, Growatt NOAH, Hoymiles or Marstek — see Settings → Emulation | no | no | — | — |
| Switching Wi-Fi/USB | — | by software command, Wi-Fi stays active | by jumpers on the board | — | — |
| Home Assistant | official Home Assistant integration or MQTT | Tasmota integration (Wi-Fi) or EDL21 (USB) | Tasmota integration (Wi-Fi) or EDL21 (USB) | EDL21 (SML meters) | with ESPHome on an ESP32 |
| Encrypted MQTT (TLS) | yes, also with your own CA certificate (e.g. for a broker with a self-signed certificate) | possible | not available | — | — |
| Exposed GPIOs | — | — | four GPIOs, e.g. for relays or sensors | — | — |
| Connecting WattWächter TTL (cascading) | — | no | up to two more, Wi-Fi mode only | — | — |
| NES/Echelon meters | yes (from firmware 1.2.1) | no | no | — | — |
| Updating the firmware | automatic updates (OTA); flashing in the browser | OTA; flashing in the browser | OTA; flashing in programming mode via jumpers | — | — |
| Factory reset | function button 7 s or interrupt power 5 times (each time after less than 15 s) | function button 7 s or interrupt power 7 times | interrupt power 7 times or connect GPIO0 to GND | — | — |
Gen.1 or Gen.2?
You can tell which generation of the WattWächter Tasmota you have from the product photos on the WattWächter Tasmota page. The Gen.2 always runs in Wi-Fi mode and can additionally output the data via USB; the Gen.1 is switched between Wi-Fi and USB mode with jumpers.
On to your device
- WattWächter Plus → Setup
- WattWächter Tasmota → Setup
- WattWächter USB → Setup
- WattWächter TTL → Connection
Want to read a gas meter instead? → Gas